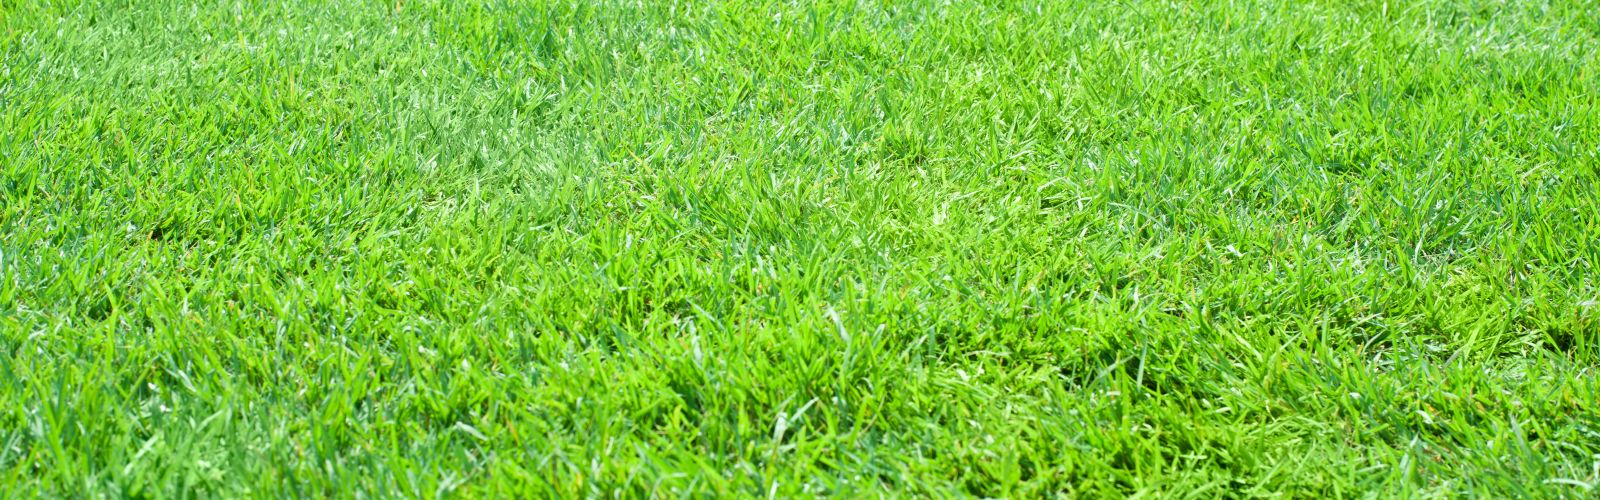
Welcome to the Family
We truly value our customers and thank you very much for choosing Atlanta Sod Company to provide and install your new landscape project. We have learned a lot since entering the turf business years ago and one of those things is setting proper expectations. We try our best to establish those early in the sale process and then again on the day of installation. One common denominator we have noticed, especially with Zoysia installations is the expectations commonly exceed the actual real life process of planting and growing the sod. A made for TV gardening show can make the process look perfect and seamless but in actuality it’s a very complicated process. Harvesting sod miles away from your home, shipping it via Tractor Trailers and then finally installing it on your lawn, all done within a 24-hour period will often put the sod into a period of “shock”.
Some pieces may brown and shrivel during this period. The best thing you can do is just simply follow the instructions below and trust that time is on your side. Grass is living, changing, and slow to grow. Another common concern may be lumpiness or “bumps” that are visible in the days and weeks after the installation. Please note that it will take several mowings before your desired results begin to take shape and this unevenness goes away. Even in the heart of growing season this could take 2-3 months. We encourage you to be faithful in following the instructions below, being patient throughout the root in period and allowing your sod to grow to a height of 3+ inches several times with mowing in between before assessing how your new sod is doing.
Maintenance Instructions
Watering
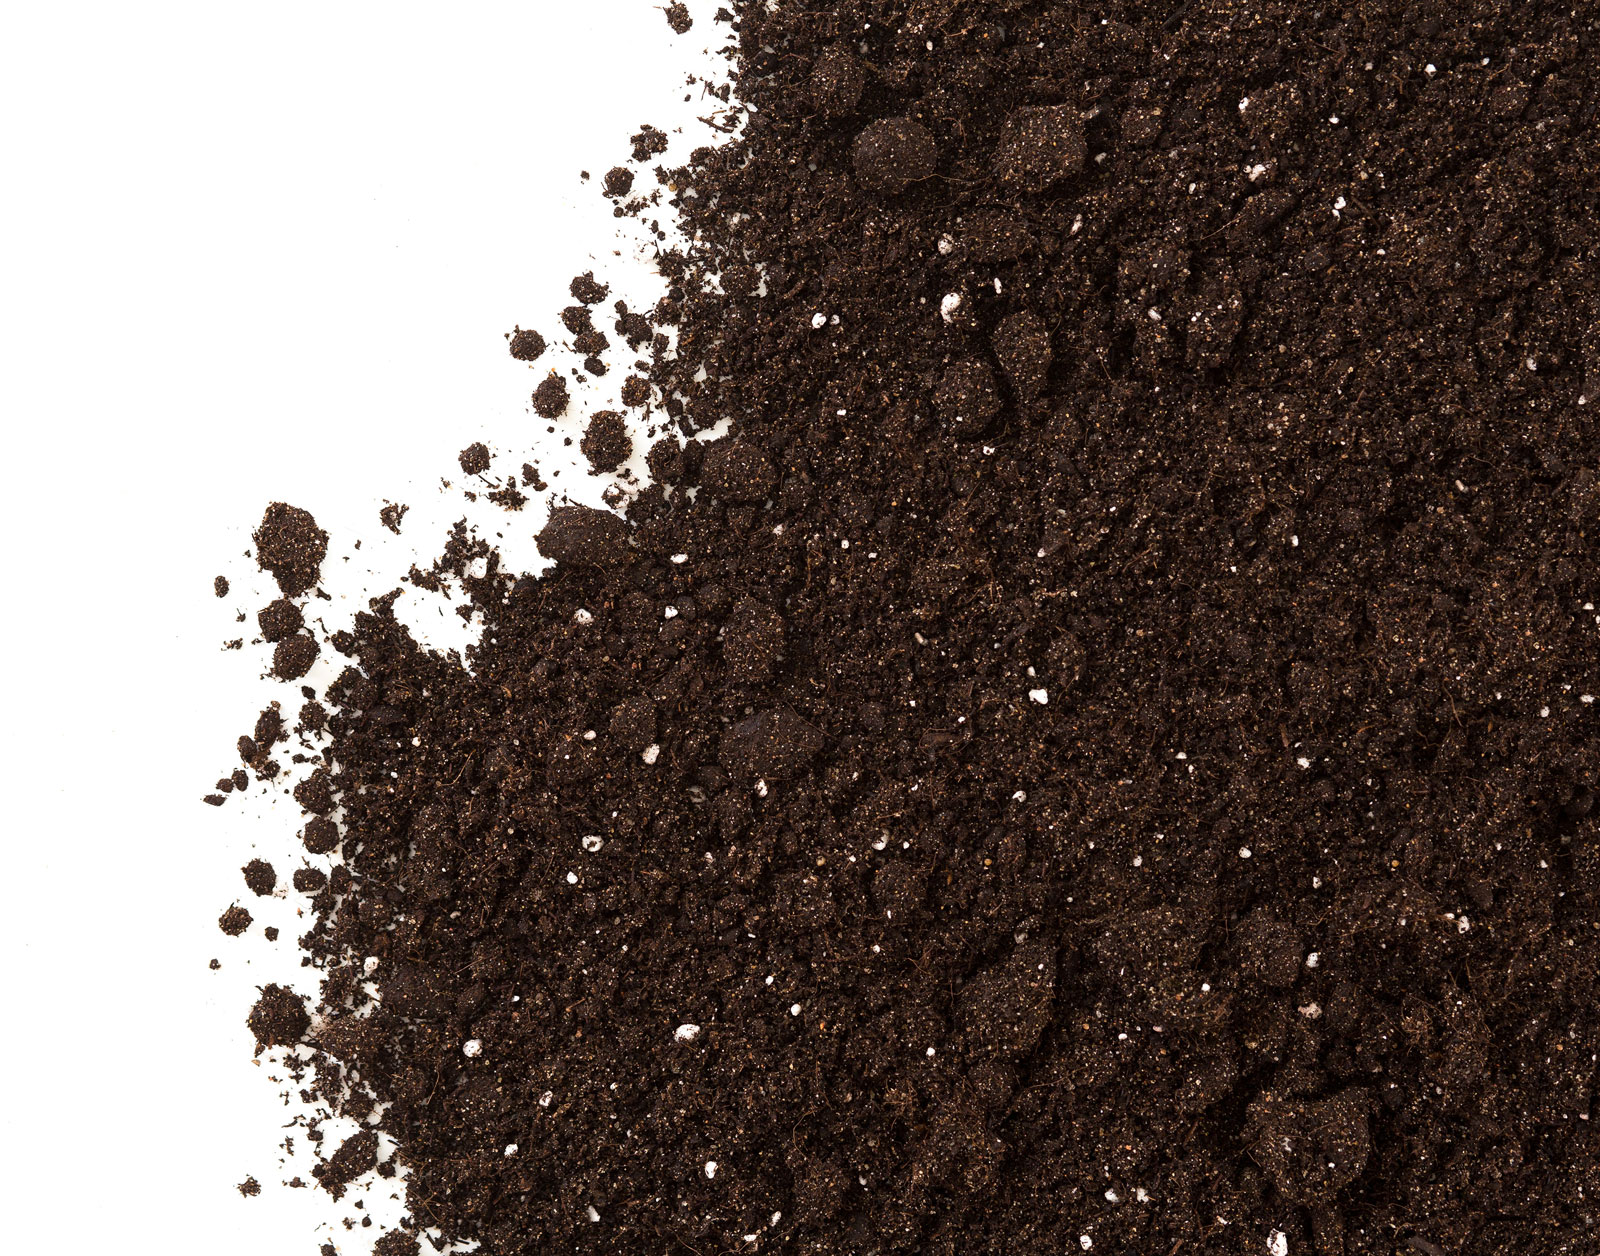
- Week 1 – 3 – This is the transplant period. Your sod has just been cut from the farm and shipped 200+ miles to your house. During harvesting, transporting, and installing, your sod has been stressed just a little. Over these first 3 weeks your job is to keep it very moist meaning that if you were to stick your finger in between two pieces, not only will the sod piece itself be wet but the soil beneath your sod will also be moist two inches down. Your finger should easily push through to your second knuckle without much force. Watering during this period should take place in the morning with supplemental watering in the midday as needed to maintain the moisture level in the sod piece. We do not recommend certain time frames and amounts per day because every yard is different. OBSERVATION and the COMMON SENSE approach is the best approach. DO NOT water so much that there is standing water. When sod is below water this will cause the sun’s rays to magnify and burn the grass as well as rot the roots.
- Week 3 – 5 – We like to talk about grass as a living thing (because it is!) Too much of one thing is a bad thing. You have kept your new sod moist for three weeks but now it’s time to start scaling back. Some rooting should have already taken place but now you’re going to motivate your sod into rooting deeper. Start cutting back your watering times and amount of days per week so to allow your sod to go through drying stages. During these drying stages the grass will be encouraged to root deeper “looking for water”. The longer you can go between each watering period the better. OBSERVATION is best here once again looking for any stress such as thinning blades. If it looks good don’t water it. Simply put, your grass will eventually only need about 1” of water per week once fully established and your goal is to gradually transition the yard to this during the 3-5 week period. At 5 weeks your sod should be rooted well and ready for a mow depending on what time of the season it is. Watering ongoing is around 1” per week, but the best advice is “as needed” observing when the grass looks dry and when it doesn’t.
Mowing
- The sod comes from the farm mowed very short usually. This keeps thatch down while also reducing the shipping weight. For spring through summer installations your first mow should take place from week 4 to week 6. Most importantly the sod should be rooted and secure to the ground. Also please use a push rotary mower the first time set on the highest or close to highest setting. This will ensure that the sod does not get stressed by cutting off more than 1/3 of the blade at a time. The importance of using a push mower is to reduce the weight of the mowing machine. At weeks 4-6 your yard will still be moist and susceptible to new divots being created as well as uprooting of the sod pieces. Once the first mow is complete you can slowly bring down your mow settings over the next mowing to a desired level. Ongoing mowing maintenance is to mow often as not to take off more than 1/3 of the blade at a time. Leaving your yard high going into the fall and winter and scalping it in the spring (NOT FESCUE) once more than 50 green.
- FESCUE – 3 important factors will help your Fescue yard thrive in the fall winter and spring and help keep it as strong as possible until time for fall re-seeding. 1.) Make sure your Fescue remains Tall around 3-4 inches. You will occasionally have to mow during the fall and spring but make sure as it warms up to be very careful not to mow it too low before the heat comes. This gives the roots a good canopy to keep ground temps down. 2.) While leaves and debris are falling in the fall and winter months that you are blowing / raking off them as quick as possible. This will prevent the leaves from breaking down and stuffing out the grass. This is also key for all yards! 3.) To keep the Fescue as strong as possible throughout the summer it is recommended you use a preventative fungicide program.
Weed Control & Fertilization
- Please note that during the first month of most sod installations there will be some weed growth. This is because the yard was just cultivated and anything that lands in the yard will root. No worries though as the new sod takes over and begins to grow in these weeds will be stuffed out. STILL it is very important for any successful turf owner to institute a weed control and fertilization program. This is done best by hiring our company to do so.
Insects
- Towards the end of July and beginning of August it is important to be vigilant in observing any contact with yard pests. At first hint that your new sod is turning brown or not rooting fast enough please contact your chemical company immediately to check for pests. To be proactive apply an insecticide in granular or liquid at product recommendations. This will not harm your new or existing turf. Brands that we know work well are Seven, Bayer, Spectracide, Ortho etc. Other indicators can be hundreds of little white moths flying over the turf, small caterpillars by the hundreds eating the grass blade, sudden and obvious browning. Also be watchful of fall season, full moons as this is the most likely timing for an armyworm event. Treat Immediately!
Frequently Asked Questions Not Mentioned Above
My yard still seems lumpy or not as level as I expected it, why is that?
We have taken every necessary step to cultivate and level your yard. Each sod piece cut from the farm has inconsistencies. Because the sod is very short these inconsistencies are easy to see once laid on the even dirt below. These inconsistencies are most obvious in thin bladed zoysias such as Emerald & Zeon. During the root in period low areas will begin to fill in with new growth. Once you mow for the first time most, if not all of the inconsistencies will be worked out but certainly by the 2nd and 3rd mow. Keep in mind that a sod installation will likely take a couple months and in some cases a year before 100% desired results take place. Patience is required during this time while rooting and establishment is occurring.
Can I put down fertilizer on my new sod?
We recommend that only a licensed professional apply chemicals to your new lawn. Any fertilizer should be applied by an expert during the first year of growth.

Get Started on Your Project!
Fill out the form below to contact us and discuss your next project or give us a call at: 470 523-3742